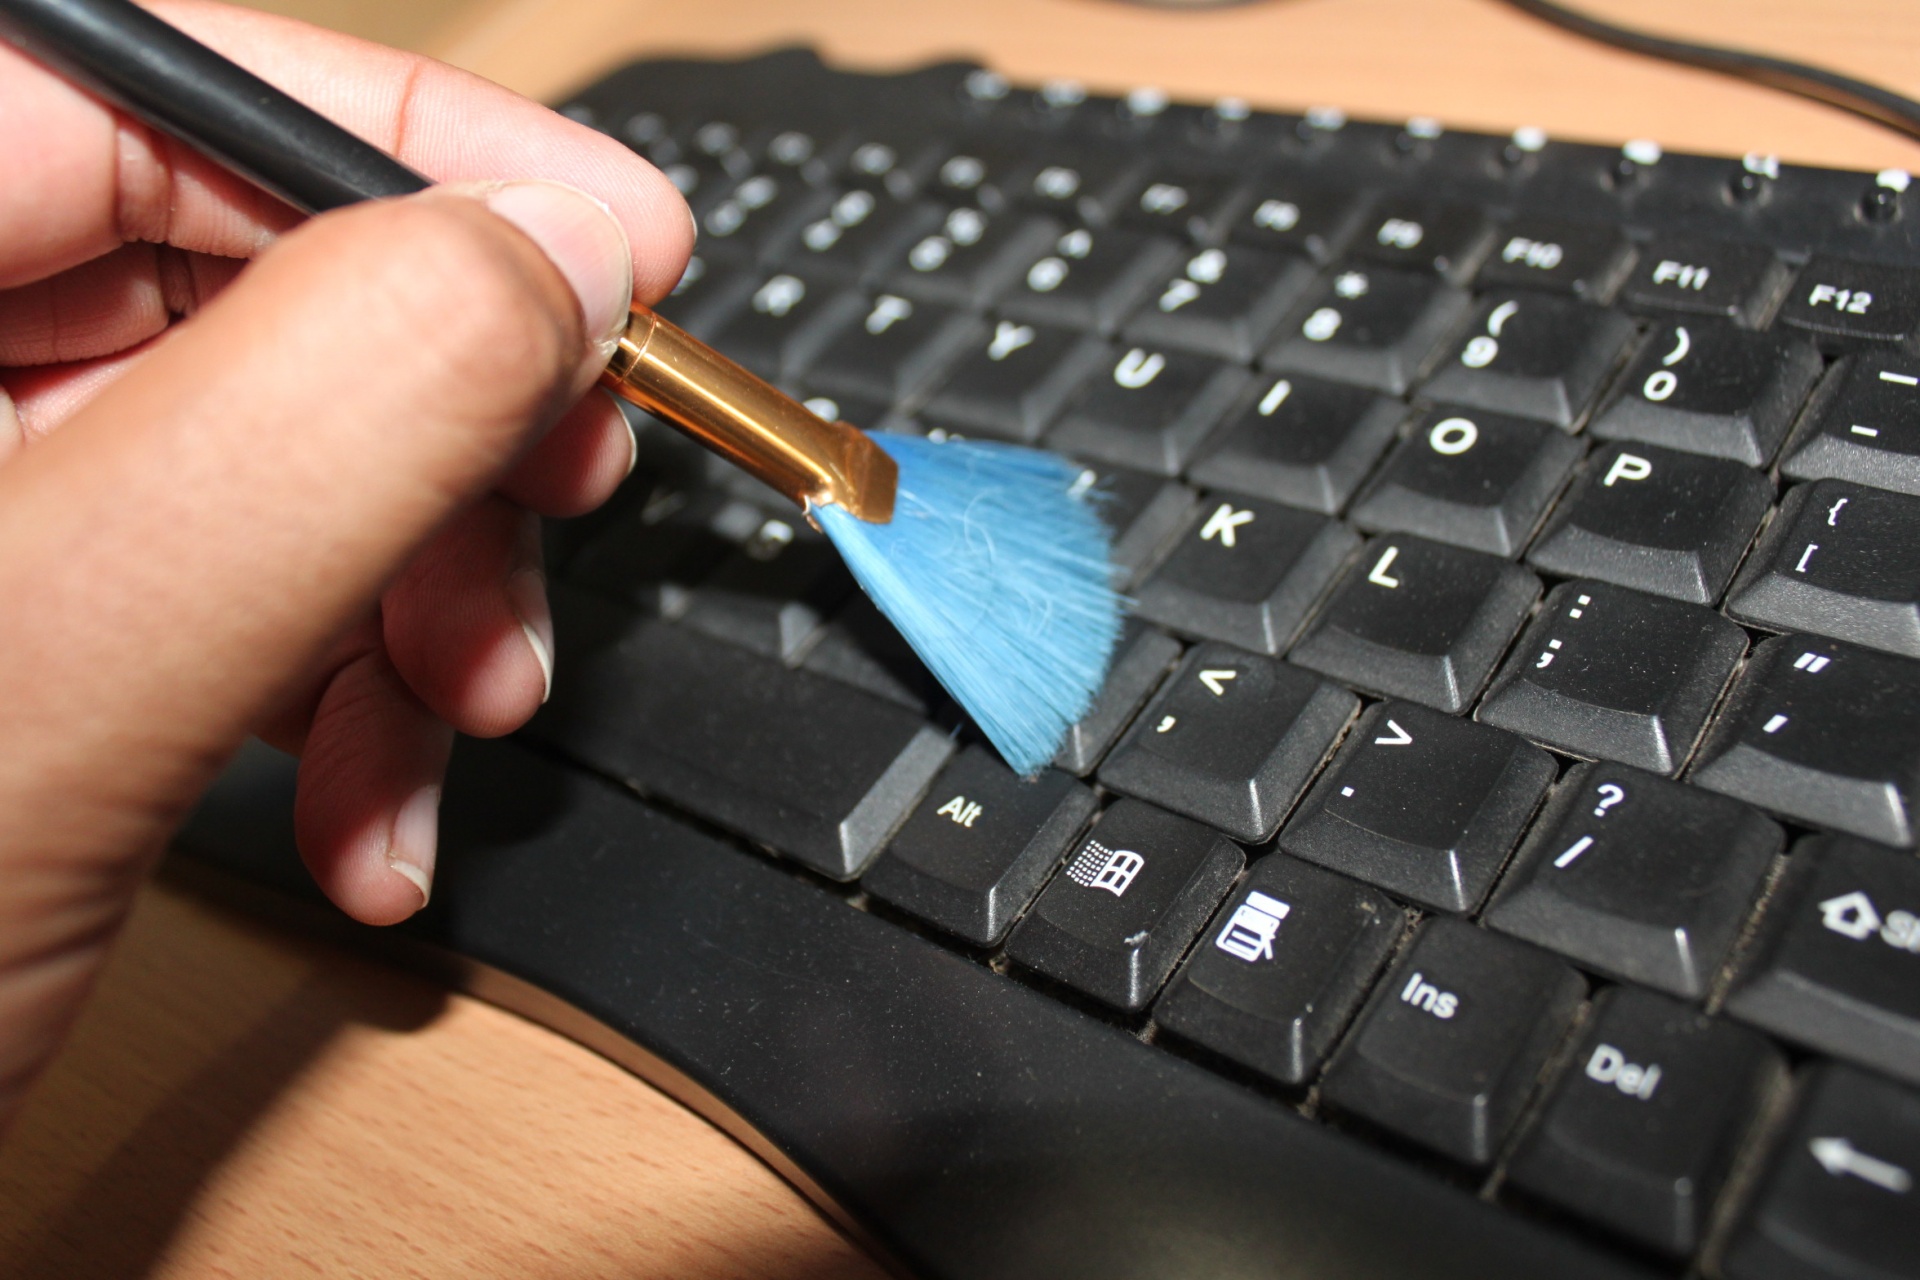
Your Handy Guide to Cleaning Your Laptop Keyboard like a Pro
Have you ever spilled coffee or crumbs on your laptop keyboard? Or maybe you’ve noticed that your keys are sticking or not working properly. If this sounds familiar, then it’s time to give your laptop keyboard a deep clean.
But fear not, you don’t need to be a tech expert to clean your laptop keyboard. With a few simple tools and the right techniques, you can have your keyboard looking and functioning like new in no time.
In this article, we’ll guide you through the step-by-step process of cleaning your laptop keyboard, from preparing your laptop and gathering the necessary supplies, to cleaning the surface and between the keys, and finally, maintaining your keyboard for long-term cleanliness.

So grab your cleaning supplies and let’s get started!
Preparing your laptop for cleaning.
Preparing your laptop for cleaning is an important step that often gets overlooked. Before you dive in and start scrubbing away at your keyboard, take the time to properly prepare your device.
Firstly, make sure you have all the necessary tools and materials on hand. You will need a soft cloth or microfiber towel, compressed air canister, a small brush (such as a toothbrush), and some rubbing alcohol or specialized electronic cleaning solution.
Next, shut down your laptop completely and unplug all cables connected to it. This will ensure that no electricity is flowing through the device while you clean it.
Once everything is disconnected, turn over your laptop and gently tap it against a flat surface to dislodge any loose debris from the keyboard area. Use compressed air canister to blow out any dust particles stuck between keys but be careful not to spray directly onto sensitive components such as fans or vents.
Now comes the delicate part – using either cotton swabs dipped into rubbing alcohol or specialized electronic cleaner with an absorbent cloth gently clean each keycap one by one without applying too much pressure which might damage them.
In conclusion – Preparing for proper cleaning of laptops prevent further damage caused by careless handling of sensitive parts during cleanup; hence ensuring prolonged life span of our devices
Gathering the necessary cleaning tools and supplies.
When it comes to cleaning your laptop keyboard, it’s important to gather the necessary tools and supplies beforehand. This will not only make the process smoother but also ensure that you have everything you need to effectively clean your keyboard.
Firstly, start by getting a can of compressed air or a vacuum cleaner with an attachment nozzle. These tools are essential for removing dust and debris from in between the keys of your keyboard without causing any damage.
Next, grab some microfiber cloths or cotton swabs. These will help you get into those hard-to-reach areas and remove any stubborn dirt or grime that may have accumulated on your keys.
It’s also important to have a cleaning solution on hand such as isopropyl alcohol or specialized electronic cleaning solutions designed specifically for keyboards. Be sure not to use water as this can cause damage to electrical components within the laptop.
« garden office ideas
how to choose plants for your modern garden »
Finally, consider using a protective cover over your keyboard after cleaning it. This will help prevent future buildup of dirt and debris while keeping germs at bay.
By gathering these necessary tools and supplies before starting the cleaning process, you’ll be able to efficiently tackle even the toughest laptop keyboards messes like an experienced handyman!
Cleaning the surface of the laptop keyboard.
If you’re a handy man who is good at fixing things, then cleaning your laptop keyboard might seem like a small task. However, it’s important to take proper care of your laptop – especially the keyboard surface – in order to keep it functioning properly for years to come.
To start with, make sure that you turn off and unplug your laptop before beginning any cleaning process. Then, begin by using compressed air or a soft-bristled brush to remove any loose debris from the surface of the keys. Be sure not to use too much force when doing this as this could damage the keys.
Next up is removing greasy fingerprints which can be achieved by wiping down each keycap with an alcohol-based cleaner solution and microfiber cloth or cotton swab as needed. Avoid using water directly on your keyboard as moisture can cause damage over time.
For stubborn stains on individual keys such as sticky cola spills or ink smudges; rubbing alcohol works well in these situations but just apply enough amount onto a cotton ball and press gently against affected areas while making sure no liquid drips into spaces between keys
Lastly don’t forget about cleaning underneath those hard-to-reach places! Use toothbrush dipped in rubbing alcohol mixed with water (2:1 ratio) scrubbing gently around edges where dirt tends accumulate overtime ensuring every area has been thoroughly cleaned before putting back together again.
By taking these steps regularly – say once every few months – you’ll definitely prolonging lifespan of both physical appearance & functionality all without having spend money professional maintenance services
Cleaning between the keystrokes.
Cleaning between the keys of a laptop keyboard may seem like a tedious task, but it’s essential to maintain the longevity and functionality of your device. As a handyman who is good at fixing things, you know that neglecting to clean your keyboard can lead to issues such as sticky or unresponsive keys.
Firstly, turn off your laptop and disconnect any external devices. This will prevent accidental damage during cleaning.
Next, use compressed air or an air blower to remove any loose debris from in-between the keys. Be sure not to hold the can too close or upside down as this could cause liquid residue damage on components.
For stubborn dirt and grime buildup between individual keycaps (the plastic covers over each key), use cotton swabs dipped in rubbing alcohol for effective removal without harming electrical circuits underneath.
Alternatively, you could also make use of specialized cleaning solutions specifically designed for electronics such as laptops which are usually available at most computer stores near you.
Finish up by wiping down with lint-free cloths dampened with water along with spritzes of vinegar solution if needed; let it dry completely before powering back on again!
By following these simple steps regularly every few weeks – keeping crumbs away from keyboards has never been so easy!
Maintaining your laptop keyboard for long-term cleanliness.
Maintaining your laptop keyboard is essential for ensuring smooth and efficient performance in the long run. As a handyman who is good at fixing things, you understand the importance of regular maintenance and upkeep.
To keep your laptop keyboard clean, start by turning off your computer and unplugging it from any power source. Next, use a soft-bristled brush or compressed air canister to gently remove dust particles and debris from between the keys.
For more stubborn stains or grime buildup on individual keys, mix a solution of equal parts water and rubbing alcohol. Dip a cotton swab into this mixture before carefully wiping down each key’s surface.
Remember to be gentle when cleaning as excessive force may damage delicate components within the keyboard itself. Also avoid using harsh chemicals that could corrode or erode sensitive materials over time.
By following these simple steps regularly, you can ensure that your laptop keyboard remains in top-notch condition for years to come – allowing you to focus on what really matters: getting work done!
Conclusion
You now know how to clean your laptop keyboard from top-to-bottom. From preparing the device for a deep cleaning, all the way through to maintaining it for optimal performance. With this knowledge and a few tools you can easily restore your laptop’s keys back into pristine condition in no time at all – so get out there and show those dust bunnies who’s boss!


