Step-by-Step Guide: How to Clean Your Round Fan like a Pro
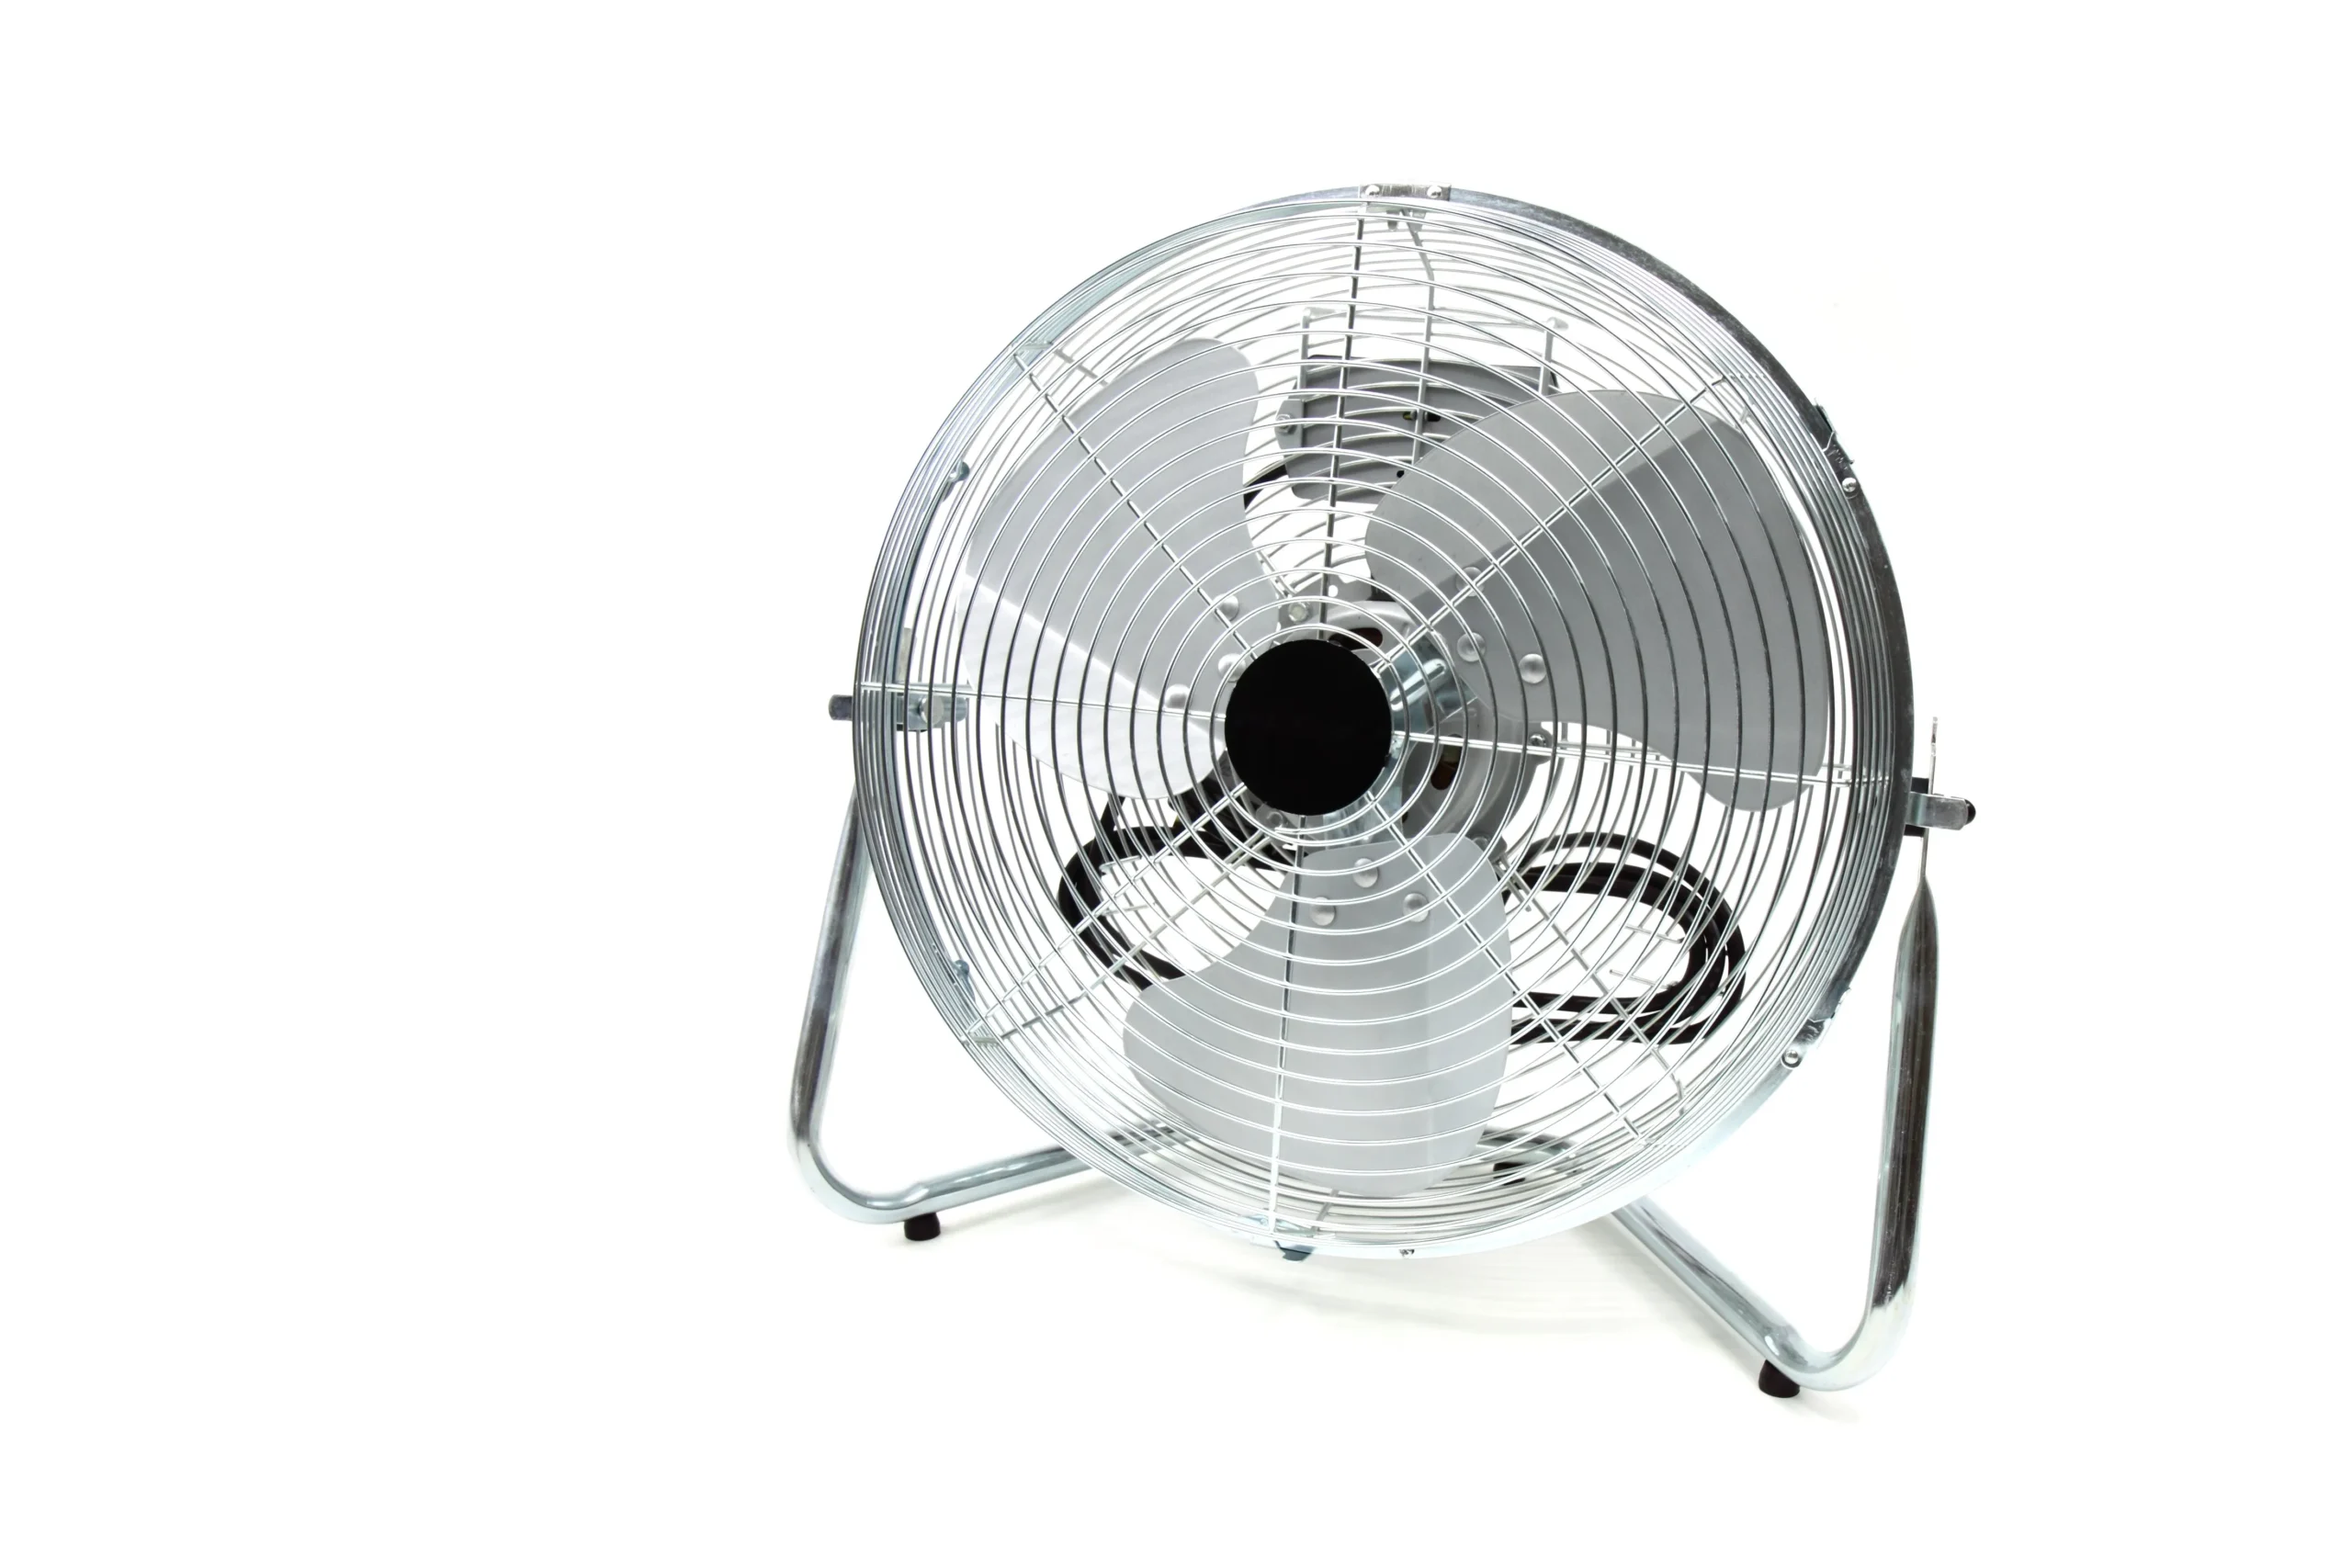
Is your round fan running slower than usual? Are the blades caked with dust and debris? It’s time to give your trusty fan a good cleaning. But where to start? Don’t worry, with the right tools and a little know-how, cleaning your round fan can be a breeze!
In this article, we’ll walk you through the step-by-step process of cleaning a round fan. From gathering the necessary cleaning supplies to reassembling the fan, we’ll cover everything you need to know. Plus, we’ll share some valuable tips for maintaining a clean and efficient fan. So roll up your sleeves and get ready to tackle this DIY project – your fan (and your wallet) will thank you! Keep reading to learn more.
Gathering the necessary cleaning supplies and preparing the work area.
Before diving into the task of cleaning your round fan, it is essential to gather all the necessary cleaning supplies and prepare the work area. This will ensure that you have a smooth and hassle-free experience.

Firstly, gather all the required tools such as a screwdriver, soft-bristled brush, microfiber cloth or sponge, dish soap or vinegar solution. Make sure these items are easily accessible during your cleaning process.
Next up is preparing the work area. If possible place your fan on top of an old newspaper to prevent any dust or debris from falling onto surfaces in close proximity to it. Additionally, make sure that there are no obstructions near you that might hinder movement while carrying out this task.
Once done with preparation move on to disassembling the round fan by unscrewing its external cover using a screwdriver carefully without damaging any parts surrounding it.
In conclusion gathering necessary supplies and preparing a neat workspace prior can save time later making this whole process easy-breezy for you!
Unplugging and disassembling the round fan.
Are you tired of your round fan collecting dust and dirt, reducing its efficiency and effectiveness? It may be time to unplug and disassemble it for a thorough cleaning.
First, make sure the fan is unplugged from any electrical source to avoid any potential accidents or injuries. Then, locate the screws that hold the front grill in place and use a screwdriver to remove them carefully. Once removed, gently lift off the front grill.
Next, take out each blade of the fan by unscrewing them individually from their base. Be careful not to damage or bend them during this process as they are delicate parts of the fan.
Now comes time for cleaning! Use a soft damp cloth with mild soap or all-purpose cleaner to wipe down each blade thoroughly while holding it firmly at its base. Make sure every nook and cranny is clean before moving on.
Once all blades have been cleaned, move onto cleaning other parts like motor housing if there’s any dirt build-up visible using another damp cloth with proper cleaner solution suited for electronics equipment only.
After completing your task reassemble everything back securely in place following reverse steps taken earlier ensuring everything fits back snugly without anything left behind loosely floating around inside risking possible injury when plugged back on again causing malfunctioning issues later on down road due lack attention paid towards proper handling maintenance techniques required keeping equipment functioning safely up-to-date efficiently long-term once again!
Cleaning your round fans regularly will not only improve their performance but also extend their lifespan saving you money in replacement costs over time! So don’t delay – get started today!
Cleaning the fan blades, grille, and other components.
« best ice cream maker for keto
best garage door opener under $200 »
Cleaning the fan blades, grill, and other components is an essential task that should be performed regularly to maintain the efficiency and longevity of your round fan. As a handyman who is good at fixing things, you know that cleaning these components can be a daunting task if not approached with care.
To begin with, you need to unplug the fan from its power source before starting any cleaning activities. You don’t want to risk electrocution while handling electrical devices. Once unplugged, remove the front grill carefully by loosening screws or clips holding it in place.
Next up are the blades – they tend to accumulate dust over time which impacts their efficiency levels significantly. Using a duster or vacuum cleaner attachment with soft bristles can help clear out debris easily without damaging them.
The front grill also needs attention – use soapy water or mild detergent mixed in warm water along with a soft cloth for easy removal of dirt buildup on both sides of this component surface area too! Make sure you dry everything thoroughly before reassembling all parts back together again after finishing up each section’s cleaning process!
In conclusion, keeping your round fans clean will ensure optimal performance for years down-the-line when needed most – so take some time every now-and-then to give yours some TLC!
Reassembling the round fan.
Reassembling a round fan may seem like a daunting task, but with the right approach and tools, it can be easily accomplished. As someone who is handy and good at fixing things, you have the skills necessary to tackle this project.
Firstly, make sure that all parts of the fan are clean before beginning reassembly. This will not only ensure proper functioning of the device but also prevent any dust buildup or debris from affecting air quality.
Next, identify each component and determine its proper placement in order to avoid any confusion during assembly. Pay careful attention to smaller pieces such as screws or clips which may be easy to overlook.
Once all components have been identified and cleaned thoroughly, begin by attaching them one by one according to their designated positions. Follow manufacturer instructions if available for optimal results.
It’s important not to rush through this process as accuracy is key for proper functionality of your newly assembled round fan. Take your time ensuring everything fits together seamlessly before turning on power again
In conclusion , while it might seem complex at first glance- You can definitely reassemble a round fan with ease using these simple steps!
Tips for maintaining a clean and efficient fan include…
Maintaining a clean and efficient fan is key to keeping your home or workspace comfortable during hot summer months. Here are some tips for cleaning and maintaining your round fan:
1. Turn off the power: Before attempting to clean the blades of a round fan, make sure it’s unplugged from its power source.
2. Clean the blades: Using a soft-bristled brush or vacuum cleaner attachment, gently remove any dust or debris that may have accumulated on the blades.
3. Wipe down with a damp cloth: After removing loose dirt from the blades, wipe them down with a damp cloth to remove any remaining grime.
4. Check for damage: While cleaning your fan, take note of any damages such as bent or misshapen blades which can cause an imbalance in airflow leading to reduced efficiency.
5. Lubricate moving parts: If you notice squeaking sounds emanating from your ceiling fans’ motor housing when it’s turned on at high speed then lubrication could be needed; use oil like WD-40 spray onto bearing surfaces sparingly but enough so they function well without excess noise generated by friction caused by dry bearings over time causing failure earlier than expected due wear & tear accelerated because no lubrication was applied properly!
By following these simple tips you can keep your round fans running smoothly all season long!
Conclusion
Congratulations on a job well done! Cleaning your round fan may have seemed daunting but you did it and now the fan is back in good working condition. Whether cleaning or maintaining, following these steps will help ensure that your round fan works as efficiently and safely as possible for years to come!


