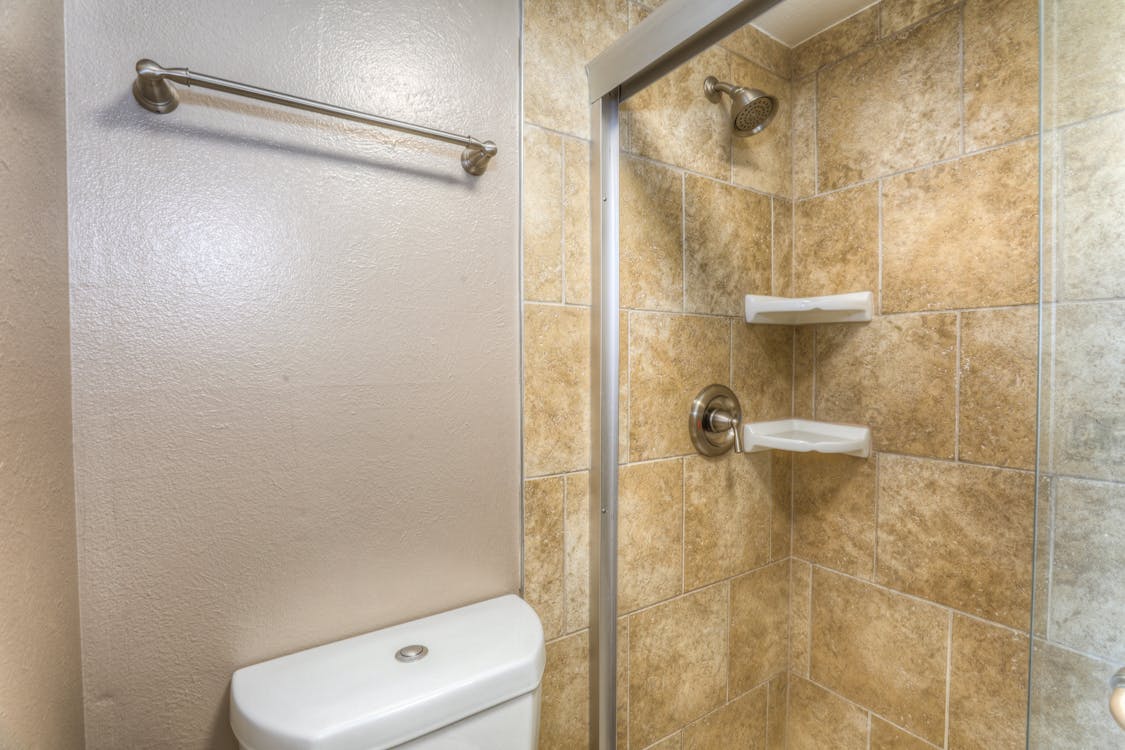
Thinking about giving your bathroom a fresh new look? Tiling a bathroom wall might seem like a daunting task, but with a bit of guidance, you’ll find it’s a project you can tackle yourself. Not only will you save money on labor costs, but you’ll also gain the satisfaction of creating a beautiful space with your own hands.
Preparing for Your Bathroom Tiling Project
Embarking on a bathroom tiling project requires planning. Follow these steps for a smooth and efficient process.
Choosing the Right Tiles
Select tiles suitable for bathroom use. Porcelain and ceramic tiles resist moisture well. Choose slip-resistant finishes. Light colors can make small bathrooms appear larger. Ensure tiles match your bathroom design.

Gathering Necessary Tools and Materials
Gather essential tools before starting. You’ll need:
- Tile cutter: For precise cuts.
- Notched trowel: For applying adhesive.
- Level: Ensures tiles are straight.
- Grout float: For spreading grout.
- Tile spacers: Maintain uniform gaps.
- Safety gear: Gloves and goggles for protection.
- Adhesive and grout: Choose water-resistant types.
Having these tools ready ensures a smooth workflow.
Steps to Tile a Bathroom Wall
Start by outlining the steps, keeping instructions easy.
Measuring and Planning Your Layout
Measure the wall’s height and width. Mark a center point to balance the layout. Use a level to draw horizontal and vertical guidelines.
Preparing the Wall Surface
Clean the wall to remove dirt and grease. Fill any holes or cracks with filler. Sand the wall until smooth and dust-free.
Applying Adhesive and Setting Tiles
Spread tile adhesive evenly with a notched trowel. Place tiles starting from the center. Use spacers for even grout lines.
Cutting Tiles for Edges and Corners
Measure the space for cut tiles. Use a tile cutter to trim tiles to size. Fit cut tiles into gaps for a seamless edge.
Grouting and Finishing Touches
After setting the tiles and letting the adhesive dry, it’s time for grouting and finishing touches to complete your bathroom wall.
Applying Grout
Mix grout according to the package instructions. Work in small sections, using a grout float to apply the grout diagonally across the tile joints. Make sure grout fills all gaps. Hold the float at a 45-degree angle to spread grout effectively. After applying, let it sit for 10-15 minutes.
Cleaning and Sealing the Tiles
Wipe off excess grout with a damp sponge, moving diagonally to avoid removing grout from the joints. Rinse and wring out the sponge frequently. Let the grout cure for 24-48 hours. Seal the tiles and grout lines with a suitable sealer to protect against moisture and stains. Use a brush or roller to apply the sealer evenly. Follow the drying time specified by the manufacturer before exposing to water or regular use.
Ensuring proper grouting and sealing improves both the durability and look of your tiled bathroom wall.
Maintaining Your Tiled Bathroom Wall
« 10 Cozy Colors for a Bedroom That Will Transform Your Space into a Tranquil Haven
10 Genius Budget Small Bathroom Ideas You Wish You Knew Sooner »
Your bathroom wall tiles need regular care to stay pristine and durable.
Regular Cleaning Tips
Use a non-abrasive cleaner to avoid scratching tiles. Wipe tiles weekly with a damp cloth to remove soap scum. Scrub grout lines monthly with a soft brush to prevent mold.
Handling Repairs
Fix loose tiles immediately with tile adhesive to avoid water damage. Replace cracked tiles—remove the damaged tile, apply new adhesive, and fit a replacement. Reapply grout to any missing or cracked areas to maintain a watertight seal.
Conclusion
Tiling your bathroom wall can be a rewarding and cost-effective project that brings a fresh look to your space. By choosing the right tiles and tools, following safety precautions, and understanding the tiling and grouting process, you’ll be well on your way to a stunning bathroom transformation.
Don’t forget that regular maintenance is key to keeping your tiled walls looking their best. Simple practices like weekly wiping, monthly grout scrubbing, and prompt repairs will ensure your bathroom stays beautiful and functional for years to come. So go ahead and enjoy the fruits of your labor!


