Cleaning places around the house is part of adulting; you may not want to do it, yet you have to. So, if you have been putting off cleaning your bathroom sink for the longest of time, it is okay; we understand. On the surface (pun unintended), it may not even seem necessary, given how you are practically always running soapy water through your sink every time you use it.
But this is precisely why you need to clean your bathroom sink more often than you think. It is the most used area of your bathroom, even more than the toilet seat. Over time it can collect grime and bacteria, which you certainly do not want in a space you use for cleaning yourself up. This guide on how to clean a bathroom sink breaks down the process in easy steps.
Things You’ll Need
As for every cleaning project, you may need a few items if you do not already have them at home.

Sink Cleaning Spray
Scrub Sponge
Disinfecting Spray
How to Clean a Bathroom Sink in 8 Steps
Step 1: Wipe the sink when dry.
Before you start cleaning your bathroom sink, make sure the sink is dry. This way, any debris, hair, and other bigger dirt particles can be cleaned with a cotton cloth. Take a cleaning rag and dampen it with a bit of water. It should not be soaking wet. The moisture in the cloth will be just enough so the hair and dirt particles can stick to it.
If you are wondering why not just rinse the debris down with water, well, you can. But it will only make your sink drain dirtier, and the hair will partially clog your drain. This is why it is best to wipe your dry sink first.
Step 2: Rinse the sink.
Once done wiping, you can now rinse the sink thoroughly before spraying any disinfectant and cleaner. With the hair and bigger debris particles wiped off, rinsing off any smaller gunk particles will ensure better disinfection and cleaning with the spray. Not rinsing your skin would mean you will have to contend with a lot of dirt when spraying the sink down.
You can skip this step, too, if your sink is not too dirty. But if you do decide to do it, run hot water to clean the sink; this will remove soap scum more easily. And make sure to splash the water on the sides of your sink.
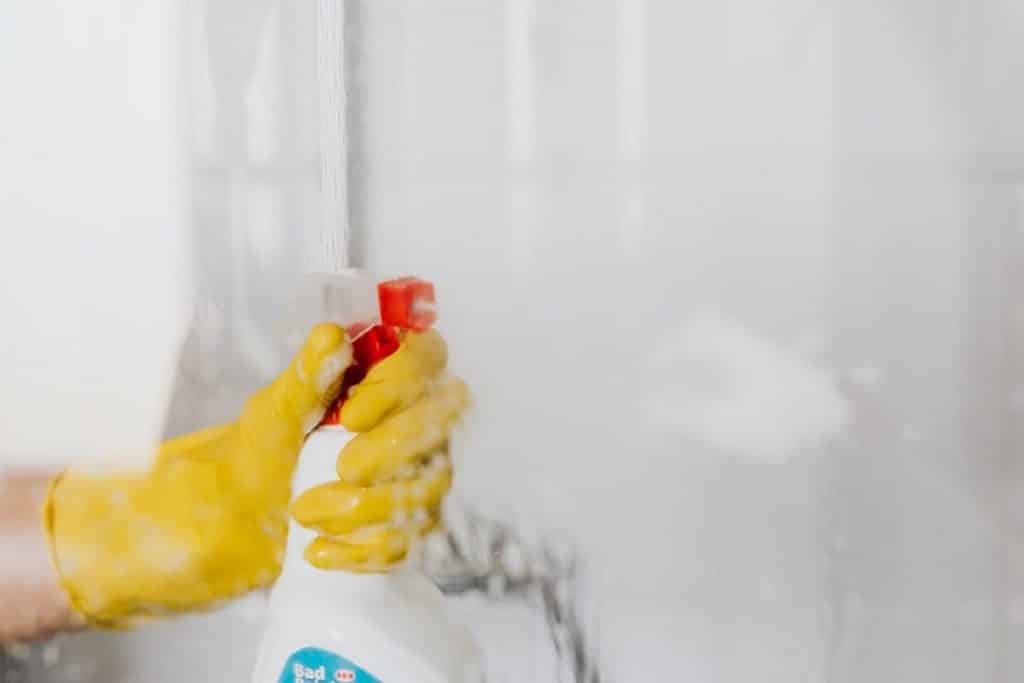
Step 3: Spray the sink cleaner and disinfectant generously.
Now you can liberally spray whatever cleaning product you have. A tub and tile cleaner can work too. Some sink cleaners are also disinfectants, so you need not get one separately. Make sure to spray on all sides, on and behind the faucet, as well as on the edges to clean the sink completely.
Step 4: Wipe the sink again.
You know the drill. After spraying the cleaner, wipe down the entire surface of your sink. Do not be gentle on the particularly dirtier spots. You are essentially rubbing in the cleaning product to get rid of scum and debris that has accumulated on your sink over time. This step is crucial in cleaning your bathroom sink.
Step 5: Sprinkle baking soda (or even laundry detergent for tough stains).
So, you tried, but just the cleaning spray did not do the job? This usually happens if your sink has not been tended to in a long while. And that is okay. The tougher rust stains or frozen scum may need some more action. Take some baking soda or your laundry detergent and sprinkle it all over your sink.
If you choose to go with baking soda, make sure the sink is dry. But in the case of the detergent, a slightly wet sink will be better. ONLY use one of the two products.
Step 6: Scrub, scrub.
Finally, scrub with a scrub sponge (we have recommended the best one available). The abrasive nature of baking soda will remove any tough stains. Move your hand in a circular motion when scrubbing for thoroughly cleaning your bathroom sink. Use the sponge side of the scrub sponge for the overall area and the scrub side for the ones where gunk and scum are stuck. In the case of a laundry detergent, you will see the formation of lather as you scrub (and that is a good sign).
Step 7: Rinse one last time.
Finally, rinse thoroughly to clean your sink perfectly. We recommend running hot water to wash off all the gunk, foam (if you used a detergent), and baking soda. Not rinsing immediately can make some of the stains re-set on the surface. If you are unable to wash all baking soda off, wipe it away with a piece of cloth (just do not let it sit there forever).
Step 8: Avoid doing the following next time.
Here are some follow-up tips to keep in mind so the next time, you do not have to spend as much time and effort when cleaning your bathroom sink.
- Firstly, rinse the sink after every use, and by that, we mean splashing water to the sides until your toothpaste residue has washed off.
- Do not let scum accumulate.
- Avoid washing hair shavings down; it is nasty, and it will partially clog your sink drain.
- Do not leave anything made of metal on the sink – rust stains are the toughest to remove!
Our Final Thoughts
We know cleaning your bathroom sink may be the last thing you care about but regularly cleaning it is far easier (and quicker) than being forced to finally clean a very dirty sink that has accumulated loads of gunk and scum over time. But even if you have reached that stage of procrastination, our guide on how to clean a bathroom sink will certainly save the day.
Happy Cleaning!


